The ninth step is more of a precaution than a true step: Do not delete, move, or rename images outside of Lightroom. Delete images, create new folders, move images between folders, and rename images only within Lightroom.
Before you can organize, edit, or output your images in Lightroom, the images must be “imported” into the currently opened catalog. Unfortunately, the word Import is a bit of misnomer. Your images aren’t being imported into the catalog; they are either staying exactly where they are on your hard drive (the Add option in the Import dialogue) or being copied from their current location to a new location on the hard drive (the Copy option in the Import dialogue). What you are really doing when you “import” images is instructing Lightroom to remember these images exist and where the original copy of these images are on the hard drive. This is different than what iPhoto does, which is physically copy the images into the iPhoto Library, and what the Managed option is in Aperture, which is physically copy the images into the Aperture Library. It is the same as the Referenced option in Aperture.
While Lightroom creates and stores thumbnails and previews (low resolution copies) of the images, it sole link to the original images is the path stored in the catalog, e.g., C:\User\bzwit\Pictures\2014\2014-07-04_National Mall Fireworks\Image001.nef. To edit an image, Lightroom needs more information than is in a preview and this means that the original image file must be available to Lightroom. In other words, if you store images on an external hard drive, that drive must be connected and mounted before you can edit any images on that drive. With Lightroom 5, you can create smart previews and edit your images offline but Lightroom will still need access to the original images to output the them with any edits.
Lightroom will always look for the original image file using the path and name stored in the catalog. So, if you rename or move images outside of Lightroom, Lightroom won’t know that the images have been renamed or moved to a new location. It won’t find the original image files and, as a consequence, won’t let you edit or output your images. The bottom line is, once the images are imported into Lightroom, use Lightroom to delete images, create new folders, move images between files, and rename images. When done inside Lightroom, Lightroom will automatically update the name and path in the catalog or delete the image from the catalog.
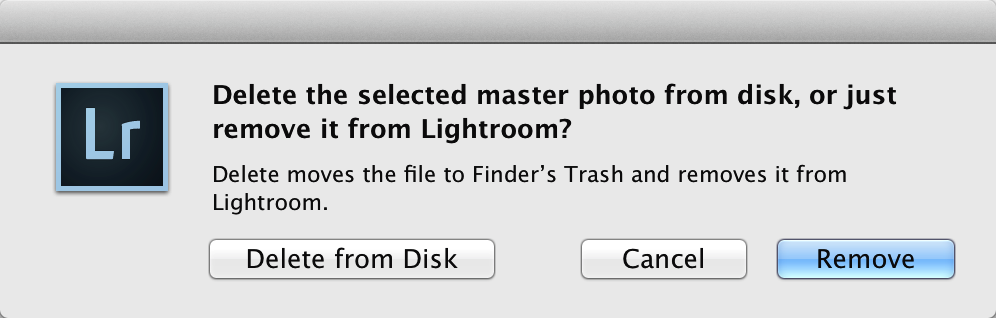
Screenshot 1: Delete dialogue window with three options: Delete from Disk, Cancel, and Remove
To delete an image or images…
- Select an image or images to delete
- Right-click the image or one of the images and click on Remove Photos… OR press the Delete key
- Click:
- Delete from Disk to remove the image from the Lightroom catalog and delete the original file from the hard drive (pick this to delete images that you don’t want)
- Cancel to cancel the delete operation and dismiss the window
- Remove to remove the image from the Lightroom catalog and leave the original image file on the hard drive)

Screenshot 2: Folders panel and the right-click context menu.
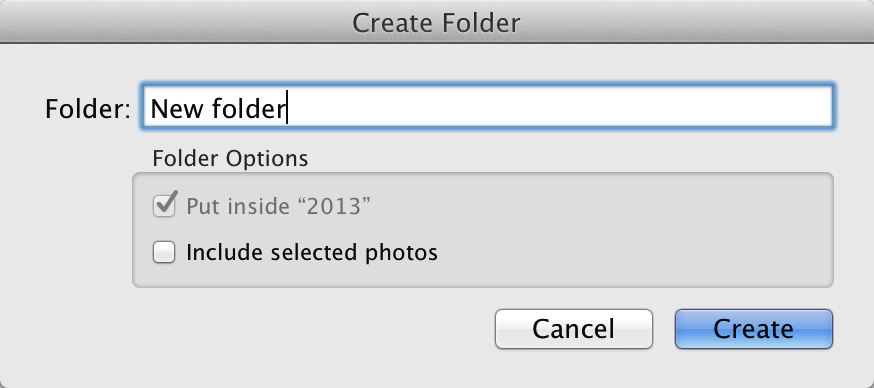
Screenshot 3: Create Folder window.
To create a new folder…
- Right-click on the folder in the Folders panel that will contain the new folder, e.g., to create a folder under the “2013” folder, right-click on it in the Folders panel
- Click on Create Folder Inside “[name of selected folder]” (see Screenshot 2)
- In the Create Folder dialogue window (see Screenshot 3)…
- Enter a name for the Folder
- If unchecked, check Put in “[name of folder]” to create the folder under the named folder
- Check Include selected photos to move any selected images to the new folder
- Press Create to create the folder and dismiss the Create Folder window
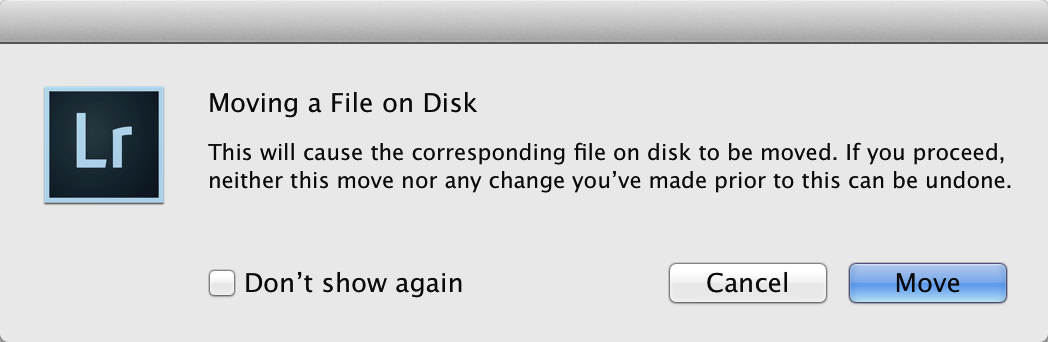
Screenshot 4: Move warning window
To move images between folders in Lightroom…
- Select the image or images to be moved to a different location on the hard drive
- Drag the images from the image preview area or the filmstrip to the new folder in the Folders panel
- When the new folder is highlighted in blue, release the mouse button
- Press Move in the warning dialogue box to move the images and dismiss the warning (see Screenshot 4)
Note: I recommend that you don’t check the “Don’t show again” checkbox because trackpads make it easy to accidentally move files. The warning will allow you to cancel any accidental moves.
To rename a folder in Lightroom…

Screenshot 5: Folders panel and context menu with Rename… menu item
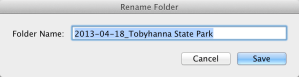
Screenshot 6: Rename Folder window
- Right-click on the folder to be renamed in the Folders panel
- Click on Rename…
- Enter a new name for the folder
- Click on Save to rename the folder
Again, it can’t be stressed enough that once your images are imported in Lightroom that images should only be deleted, moved, and renamed in Lightroom and new folders should only be created and renamed within Lightroom. Otherwise, Lightroom will lose track of your images and you will need to help Lightroom find them. It is far easier to just use Lightroom to make these basic changes and not mess up your catalog.
– Brian
Editor’s Note: In early May, Brian started a series of ten posts each outlining one or more simple but small things you can do to speed up your Lightroom workflow. This is the eighth post in that series; the first post was about how to efficiently manipulate Lightroom’s interface to reduce clutter; the second about the improving your efficiency inside Lightroom by using context menus; the third about how to name folders; the fourth about how to name image files; the fifth about using keyboard shortcuts; the sixth about using keywords to quickly find images; the seventh about using collections to organize your images; and the eighth about using filter presets and smart collections to help keep your catalog clean.
