The one complaint that I hear over and over from photographers is that they spend too much time in front of a computer working on images. However, I am not very sympathetic.
Ansel Adams spent hours getting one photograph right and, today with Lightroom and Photoshop, we can do on our computers what Adams did in the darkroom in five minutes or less. In addition, we aren’t being exposed to unpronounceable chemicals such as 4,4-dimethyl-1-phenylpyrazolidin-3-one. Our biggest risk is that we might get carpal tunnel syndrome or a stiff neck and neither is that great a risk assuming you sit up straight at your desk and take breaks.
My lack of sympathy doesn’t mean that I don’t believe in an efficient workflow. An efficient the workflow means I am more likely to enjoy the editing process and have more time for shooting. (It also means that I have more time to spend with my significant other or my dog!) Moreover, a more efficient workflow is many times a simple manner of changing a setting or learning a new way to use existing tools.
Over the next couple of weeks, I will be posting ten short blog posts, each outlining one or more simple but small things you can do to speed up your Lightroom workflow. This week’s post is about how to efficiently manipulate Lightroom’s interface to reduce clutter.
Many of us work on laptops with relatively small screens. Very quickly the screen can get cluttered with open panels, images, and other program windows. A few simple shortcuts and turning on Solo Mode for the panels in Lightroom’s sidebars will go a long way in helping you clean up some of the clutter.
To quickly alter the interface, click:
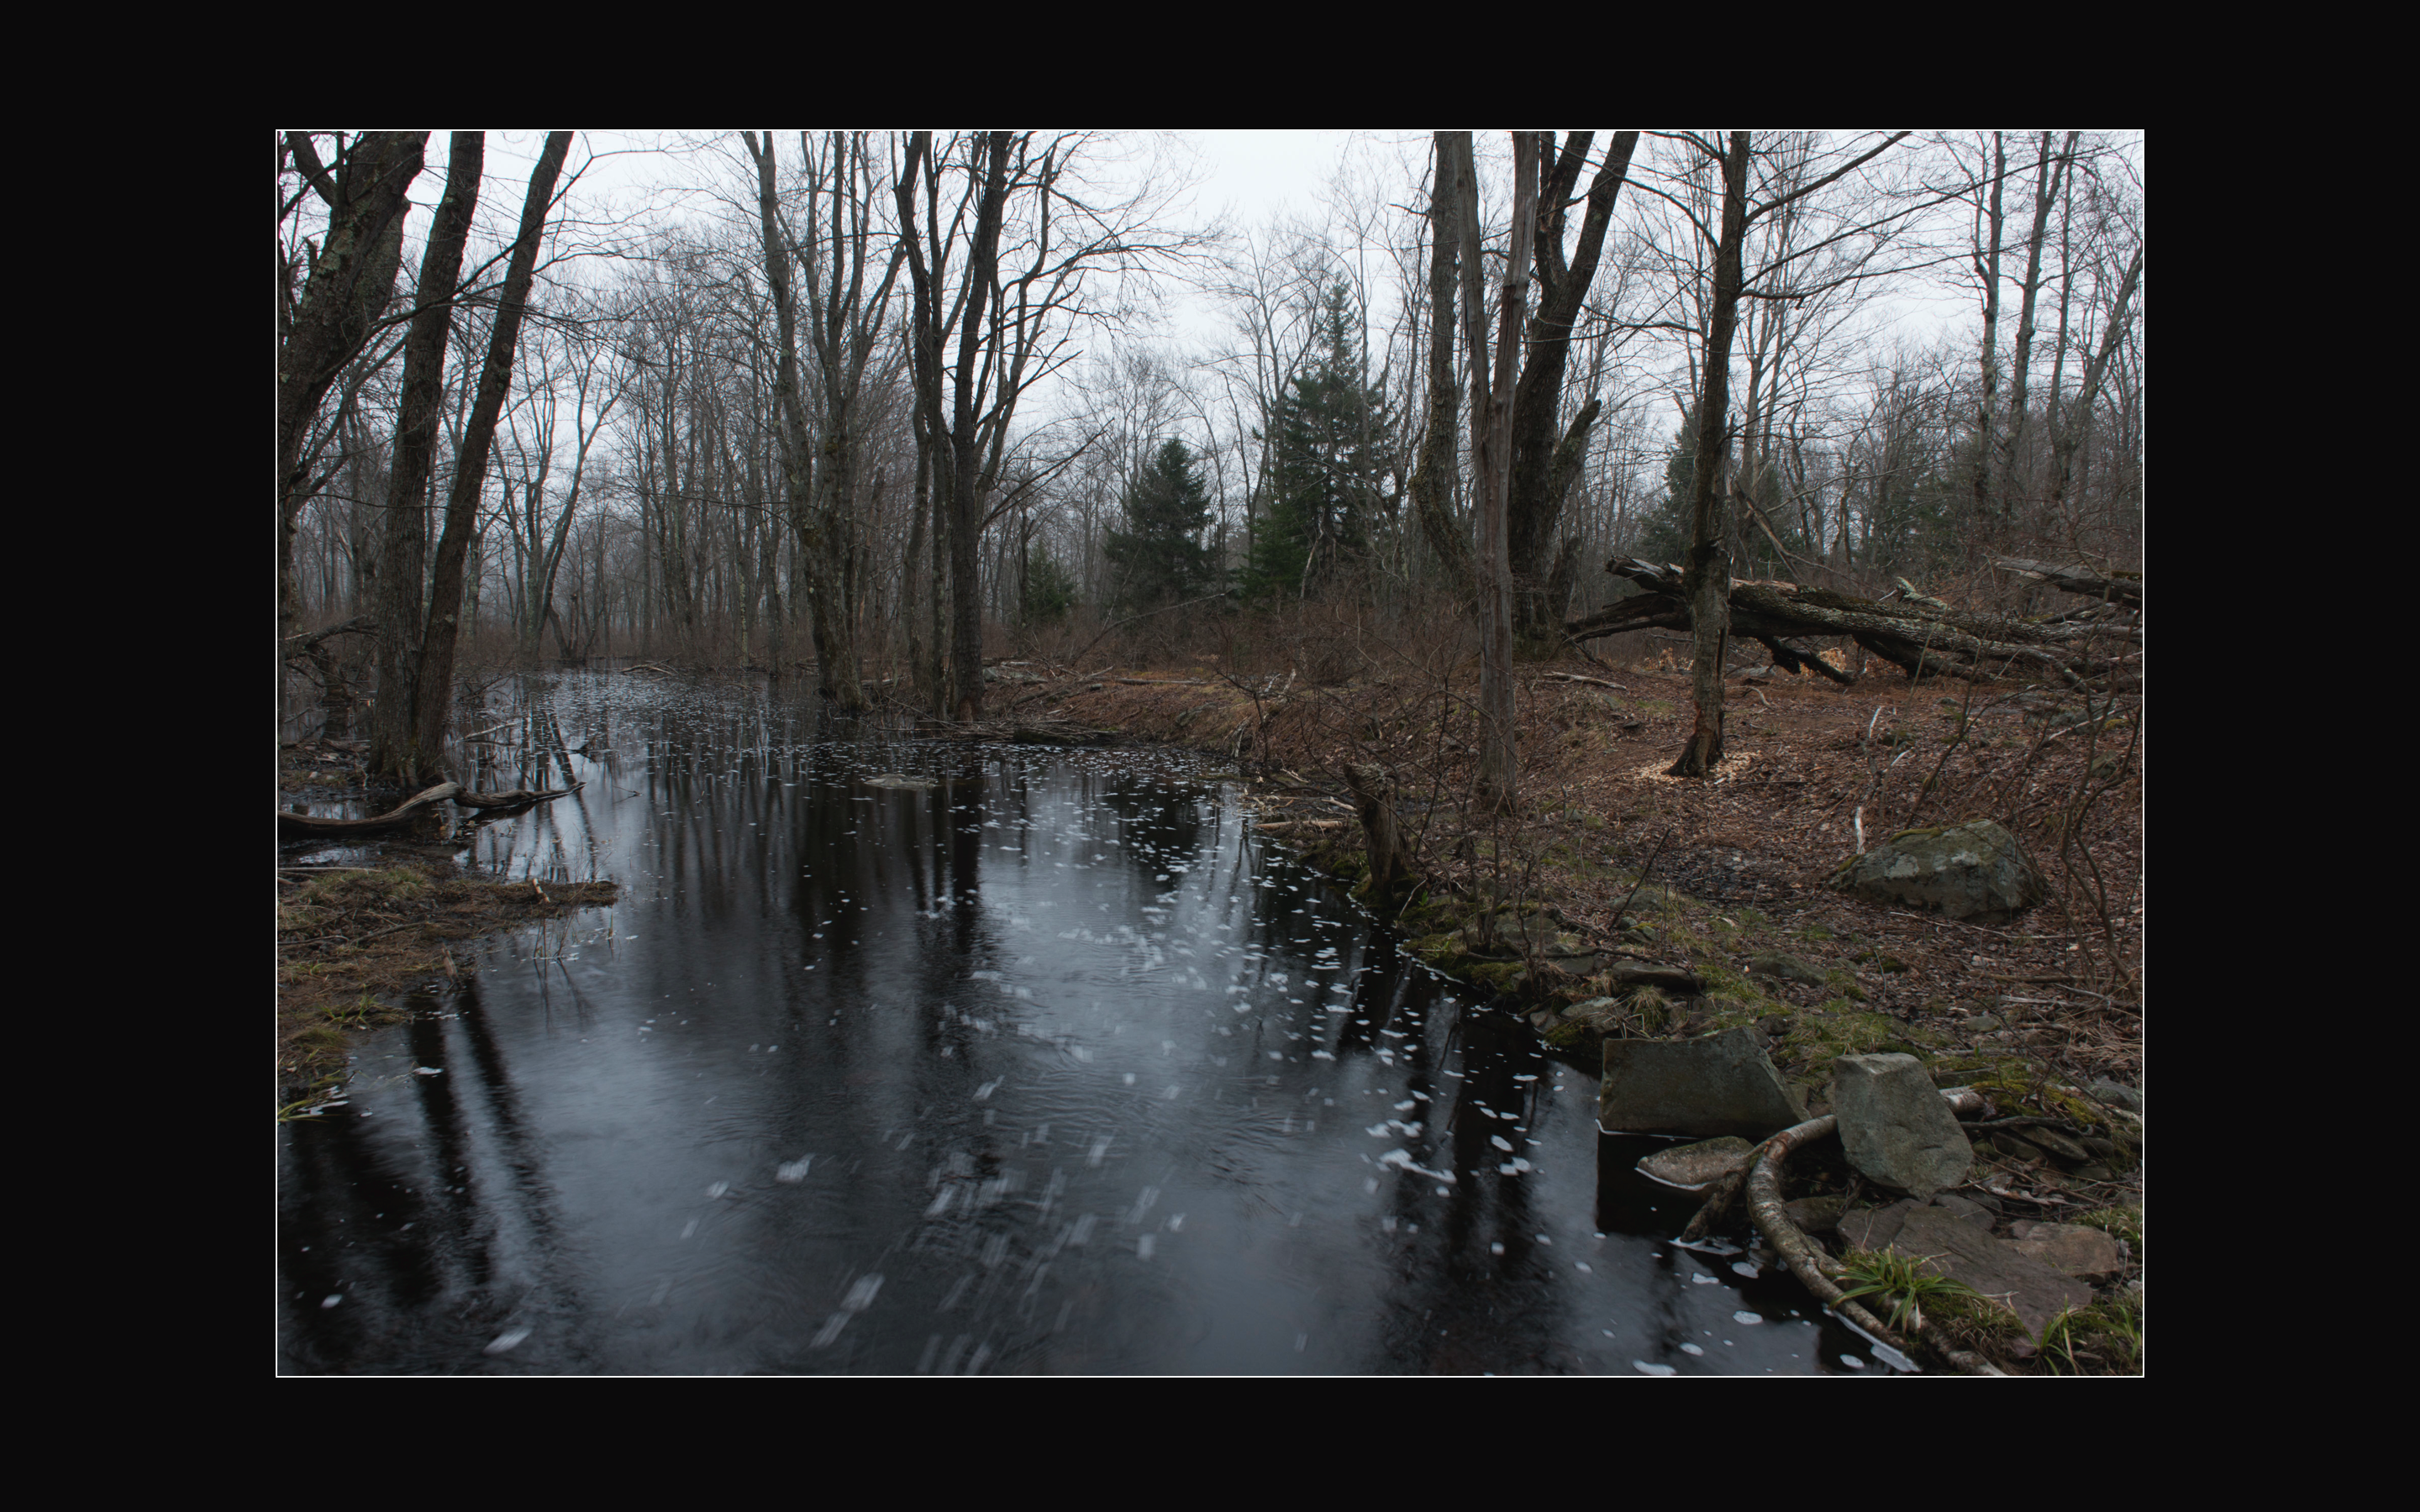
Image 1: Lightroom with the sidebars, module picker, and filmstrip hidden and the “lights” turned off.
- TAB to toggle the sidebars on and off
- SHIFT + TAB to toggle the sidebars, module picker, and filmstrip on and off
- F5 to toggle the module picker on and off
- F6 to toggle the filmstrip on and off
- \ to toggle the Finder Bar on and off
- T to toggle the Toolbar on and off
- L to turn off the “lights” (Clicking on L darkens the screen surrounding the image or images in the image preview area of the interface. This permits you to view the image or images without the distraction of the sidebars, module picker, or filmstrip. See Image 1. If you continue to click on L, the screen will darken further and eventually return to normal.)
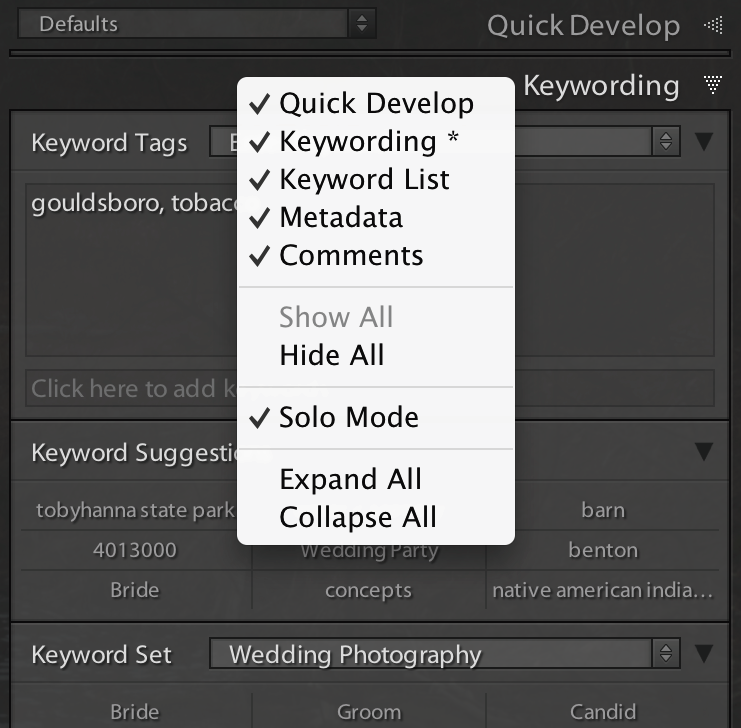
Image 2: Turning on Solo Mode. If a check is next to Solo Mode in the menu, it is on.
As you open panels in a sidebar, the sidebar will get longer and longer and you will be scrolling more and more through all the open panels. You can, of course, close open panels by clicking on the small triangle on the far left end of the panel’s title bar before opening another panel. However, this requires two clicks. If you turn on Solo Mode, Lightroom will automatically close any open panels when you open another panel in the same sidebar, reducing the number of clicks required to close an open panel and open a closed panel to one from two. It doesn’t sound like much but it greatly reduces the amount of scrolling required to get to a panel. To turn on Solo Mode, Right Click on the title bar of any panel in the sidebar and choose Solo Mode from the menu that pops up. See Image 2.
Solo Mode is specific to a sidebar and you will need to turn on Solo Mode in every sidebar separately. You may or may not want to do this. I use Solo Mode in all my sidebars except for the left sidebar in the Library module, which contains the Navigator, Catalog, Folders, Collections, and Publishing Services panels. It is sometimes helpful to have more than one of these panels open at once, particularly when I am creating a new collection.
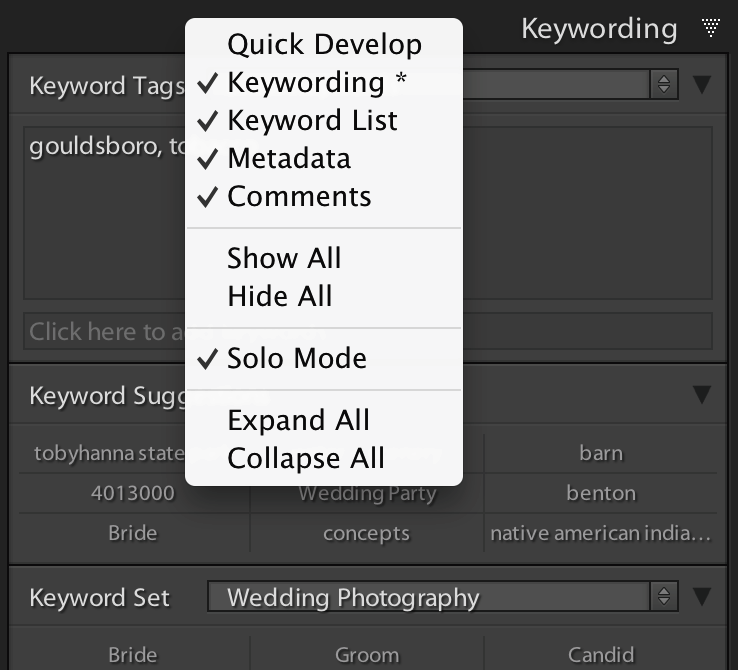
Image 3: To suppress the display of a panel, right click on the title bar of any panel in the sidebar and click on the name of the panel in the menu. If there is no check next to the name of the panel in the menu, the panel will not be displayed.
Finally, you can turn off panels that you don’t use. For example, I never use the Quick Develop panel in the right sidebar of the Library module and all it does is take up space in the sidebar. So, I turn it off. To turn off a panel, Right Click on the title bar of any panel in the sidebar and click on the name of the panel in the menu that pops up. See Image 3. You can turn the panel back on again by right clicking on the title bar of any panel in the sidebar and then clicking on the name of the panel again.
As you can see a few simple shortcuts, turning on Solo Mode, and suppressing the display of unused panels can go a long way in reducing clutter. All of us work differently so try out these shortcuts, Solo Mode, and turn off the panels that you don’t use and decided what works best for you.
– Brian
